
1. Navigate to the Inventory page.

2. Select the tool you want to assign and click the Assign button.

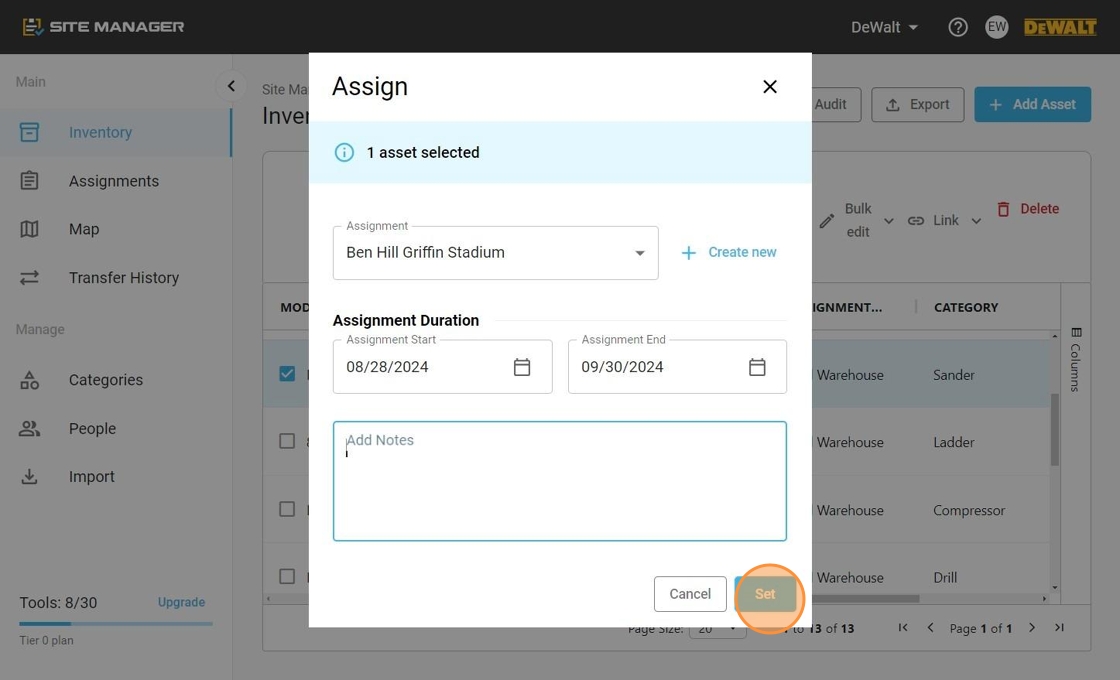
3. In the Assign window, choose the desired assignment from the drop-down menu or create a new assignment.

4. Specify the assignment duration by entering the start and end dates. If necessary, you can add notes in the provided field. Once done click on the "Set" button.
5. After assigning the tool, you will have the option to download or print a transfer sheet. Click on the "Close" button to exit the Assign window.

6. The inventory table will be automatically updated to reflect the selected assignment for the tool.

Changing an Assignment:
7. If you need to change the assignment for a tool, click on the tool to bring up its information. Click on the Assignment tab.

8. In the "Currently Assigned To" drop-down menu, select the new assignment.

9. Click on the "Save Changes" button.

10. The inventory table will be updated with the new assignment for the tool.

Assigning Bulk Items:
11. Note: Bulk items cannot be assigned directly from the inventory page. Please follow the instructions below for assigning bulk items.

12. Click on the "Assignments" page.

13. Select the assignment to which you want to assign bulk items.

14. Click on the "Bulk Assign" button.

15. Select the bulk item you want to assign. Click on the "+Add 1 Asset" button.

16. On the right panel, enter the quantity of assets you want to assign. Specify the start and end dates for the assignment.

17. After completing the bulk assignment, you will have the option to download or print a transfer sheet.

Join our Community!
We are excited to continue the discussion about Site Manager in our community forum. Contribute ideas, make suggestions, and discuss with other like minded asset managers. Click here!
Comments
0 comments
Please sign in to leave a comment.